6 Nail Care Tools Every Home Manicure Kit Needs

Have you ever tried doing your nails at home only to end up with crooked edges, uneven cuticles, or polish that chips within two days? The frustrating truth is that gorgeous at-home manicures don’t depend on talent alone. They depend on having the right tools. Most people are working with random clippers from a drugstore aisle and wondering why their results never match what they see at salons.
I spent years convinced I just wasn’t good at doing my own nails until I finally invested in a proper set of tools. The difference was almost embarrassing. So if you’re tired of mediocre home manicures or want to upgrade your nail game without spending a fortune at salons every two weeks, these 6 essential tools are exactly what your kit needs. Each one serves a specific purpose, and together they create everything you need for professional-quality results at home.
1) Tweezerman Stainless Steel Nail Clippers
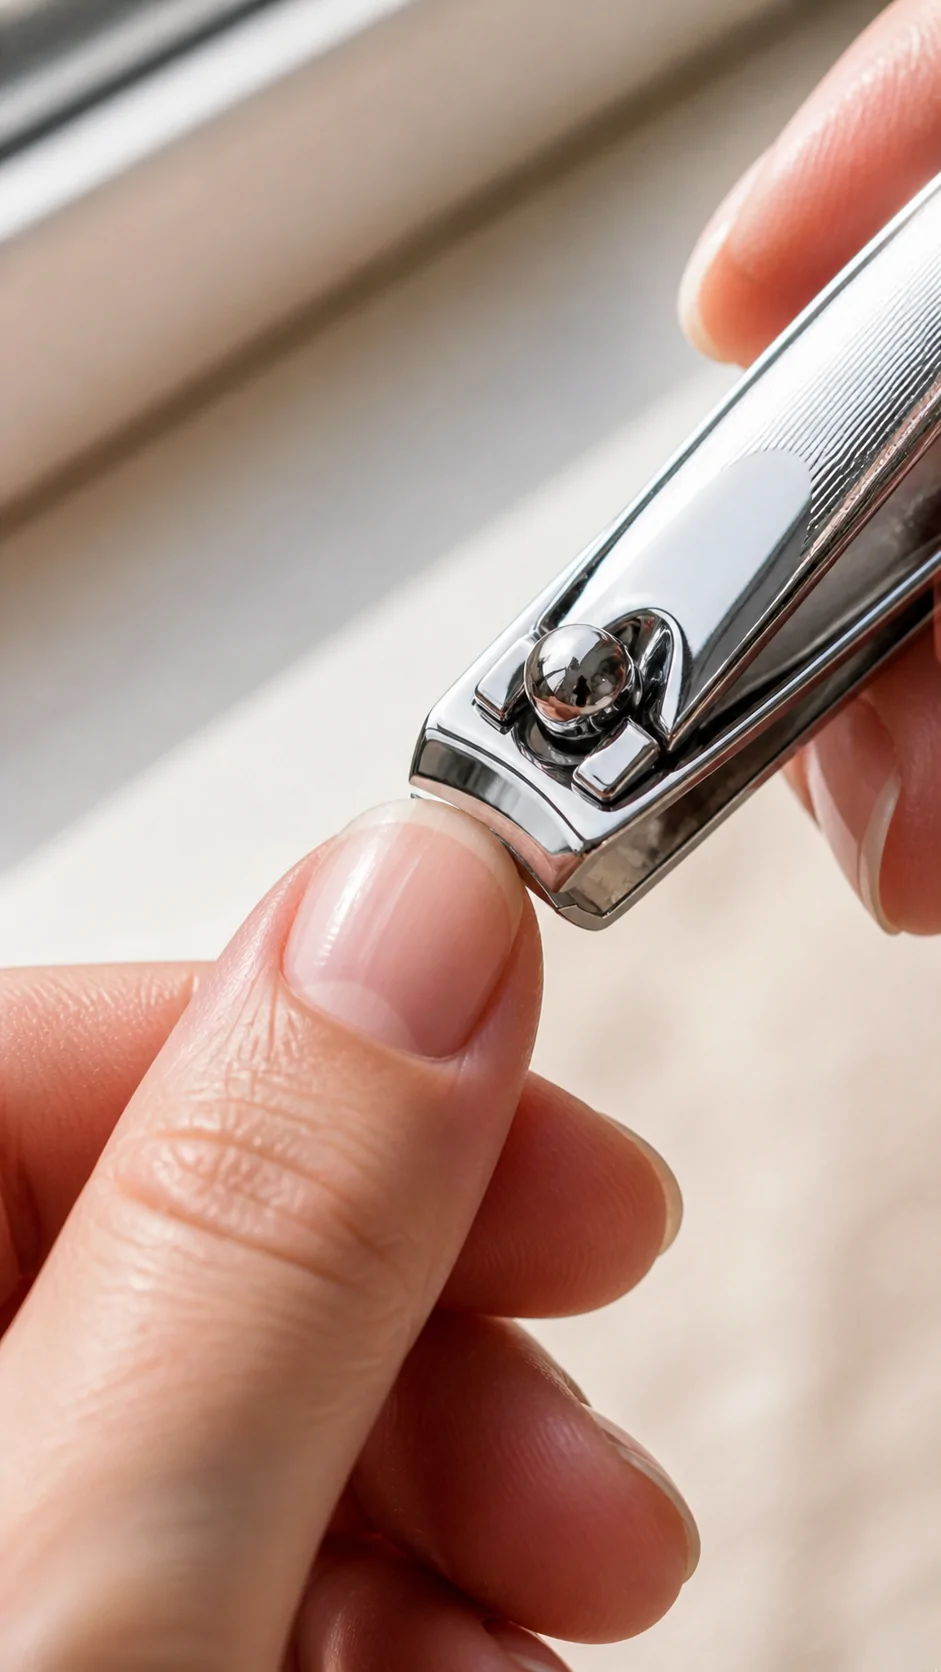
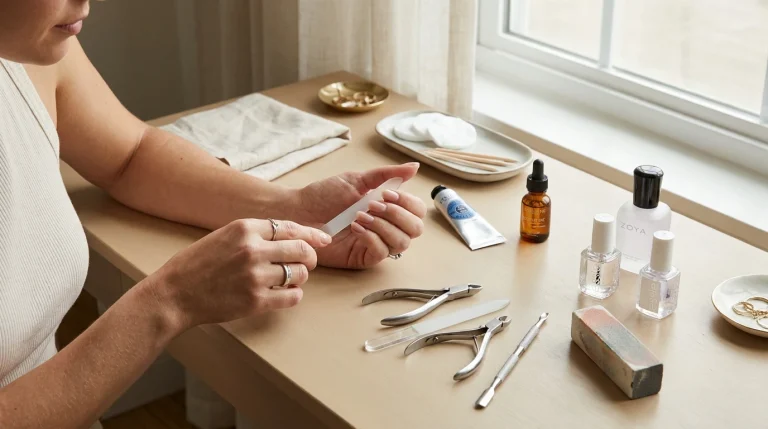
Let’s start with the most basic tool that somehow gets the most overlooked. Cheap clippers crush your nails instead of slicing through them cleanly, which causes the splitting and peeling everyone complains about. Tweezerman Stainless Steel Nail Clippers solve this with precision-cut blades that actually cut nails properly.
I switched to these after years of struggling with drugstore clippers that left my nails ragged and uneven. The difference was immediate and honestly embarrassing. My nail edges stayed cleaner, breakage dropped significantly, and these clippers are still sharp after five years of regular use.
2) OPI Crystal Nail File

If you’re still using those rough cardboard emery boards from the drugstore, your nails are silently begging you to upgrade. The OPI Crystal Nail File is made of tempered glass that smooths nail edges without causing the splitting and peeling that traditional emery boards create. It’s gentler, more precise, and lasts practically forever.
I was honestly skeptical about spending more on a nail file until my old emery boards kept leaving my nails frayed at the edges. Within a week of switching to the crystal file, my nails stopped peeling at the tips and felt noticeably smoother. The fine grit also lets me shape nails more precisely without overdoing it, which has been a game changer for maintaining length.
3) Sally Hansen Cuticle Remover Gel
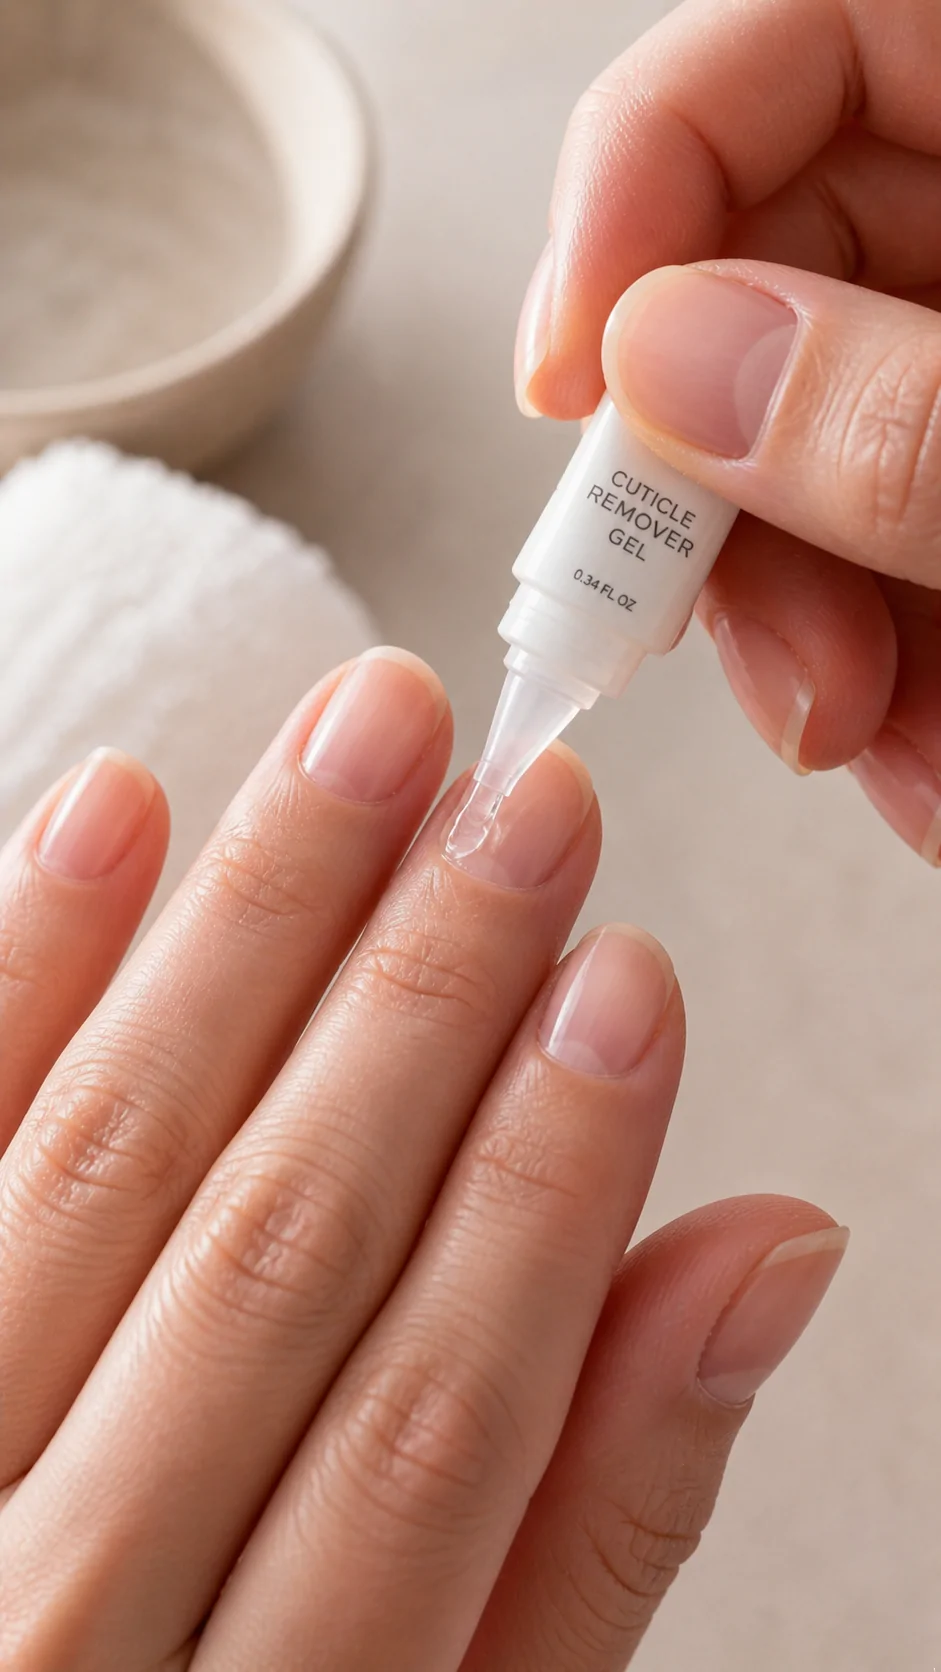
Pushing back dry cuticles is painful and honestly damages your nail bed. Sally Hansen Cuticle Remover Gel softens that overgrown cuticle skin so it lifts away gently without any pulling or cutting. It’s affordable, effective, and takes just sixty seconds to work its magic.
I used to dread cuticle care until I started using this gel. Now my cuticles look clean and tidy without any of the soreness that used to come from forcing them back manually. Apply a small drop to each cuticle, wait a minute, then gently push back with a wooden stick. The difference in how polished my manicures look afterward is genuinely impressive.
4) Revlon Nail Buffer Block

A nail buffer is the secret weapon nobody talks about for that natural shine and smooth surface professional manicures always have. The Revlon Nail Buffer Block has multiple sides with different grits that smooth ridges, remove discoloration, and add a beautiful glossy finish to bare nails. It’s small, cheap, and completely transforms how your nails look without any polish required.
I keep one of these on my desk and use it whenever my nails feel rough or look dull. Within about thirty seconds my nails go from tired to genuinely polished looking, which has saved me on countless days when I needed to look put together without a full manicure. Just remember to buff lightly because aggressive buffing thins the nail plate over time and causes weakness.
5) Essie Nail Polish Remover

Nail polish remover seems like a boring purchase but using a harsh acetone formula is one of the fastest ways to dry out your nails and cuticles. Essie Nail Polish Remover is gentle enough for regular use yet powerful enough to remove even darker shades without endless rubbing. The conditioning ingredients also help protect your nails during the removal process.
I switched to Essie after my nails started feeling brittle from constant acetone use. The change was almost immediate. My nails stopped feeling weak and dry after every polish change, and the formula removes color without that harsh stripped feeling. For anyone who changes polish frequently, this swap genuinely makes a noticeable difference in long-term nail health.
6) Tweezerman Pushy Cuticle Pusher
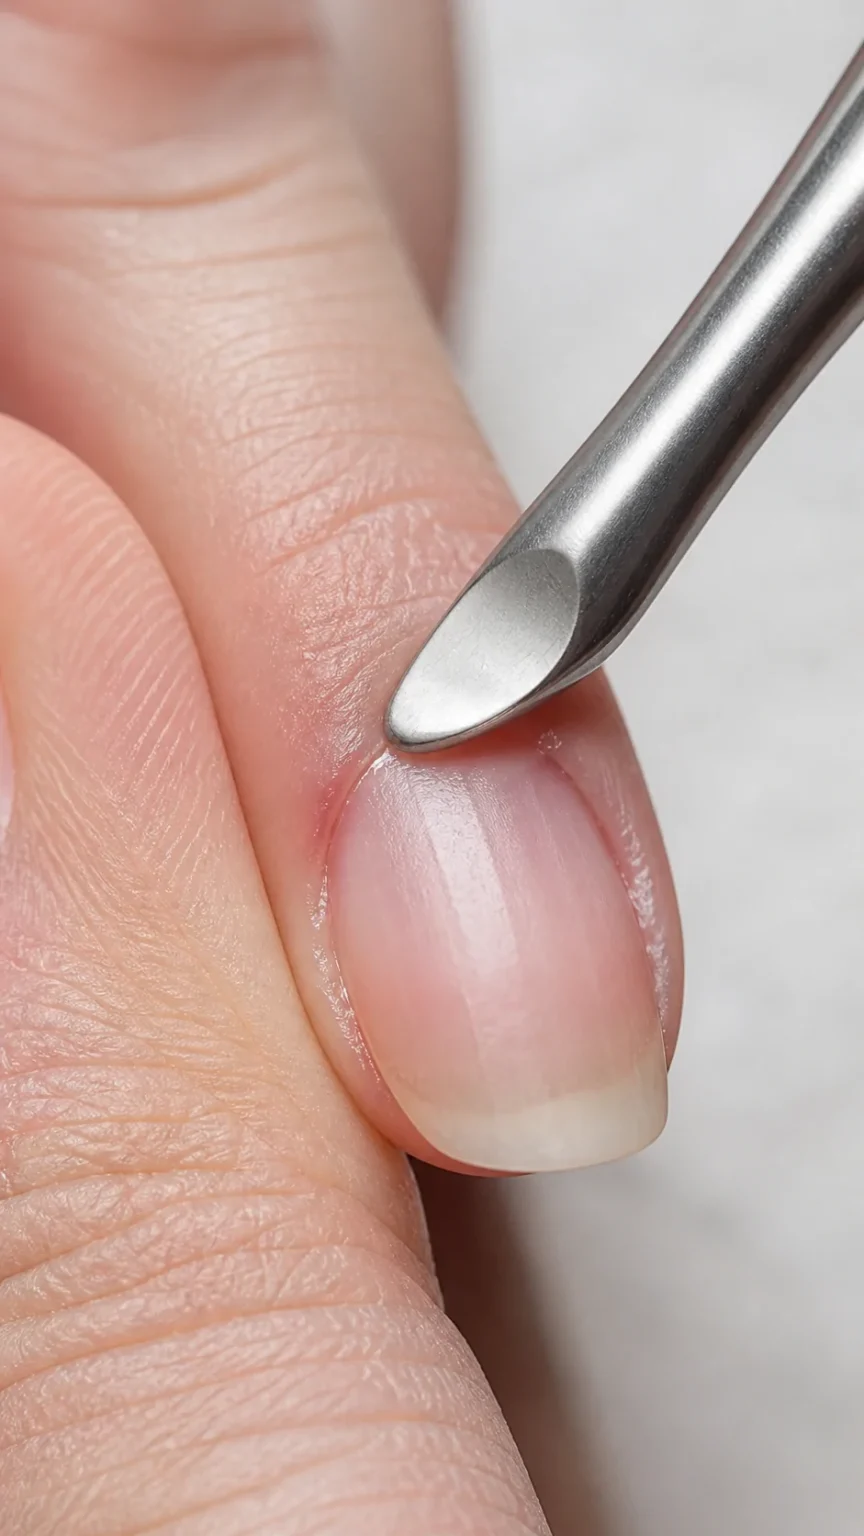
A proper cuticle pusher is non-negotiable for any serious home manicure kit. The Tweezerman Pushy features a stainless steel design with a flat angled edge that gently lifts and pushes back cuticles without scratching the nail surface. The other end has a scraper to remove dead skin from the nail plate, which is honestly the secret to that ultra-clean salon finish.
I genuinely thought wooden orange sticks were enough until I tried a real metal pusher. The precision is on a completely different level. My cuticles look cleaner, my polish applies more smoothly because the nail surface is properly prepped, and the whole tool is built to last for years rather than weeks. Pair it with a good cuticle remover gel and you have professional-level results at home.
Proper Care and Maintenance Tips
Buying quality nail tools is only half the equation. Taking care of them properly is what makes them last for years instead of months. Keep your tools clean and dry, disinfect metal pieces after each use, and store everything separately to avoid damage and cross-contamination. These small habits make a massive difference in tool performance and your nail health.
I learned this the hard way after ruining my first nice pair of clippers by tossing them into a damp bathroom drawer. The rust set in within months and they were unusable. Now I treat my nail tools like the investment they are, and the same set has lasted me years without losing performance.
How to Clean Nail Tools Safely
After each use, wipe metal tools like clippers, pushers, and tweezers with rubbing alcohol on a soft cloth. This removes any bacteria, skin cells, or polish residue that builds up over time. For deeper cleaning, soak metal tools in warm soapy water for a few minutes, then dry them thoroughly before storing. Moisture is the enemy of stainless steel, and even small amounts of leftover water cause rust.
For glass nail files and buffer blocks, a quick rinse under warm water with mild soap is enough. Pat them dry and store them in protective cases to prevent chips or scratches. I clean my entire nail kit once a week as a routine, which honestly takes less than five minutes but keeps everything performing like new. Never share personal nail tools with anyone, even family members, because bacterial and fungal infections spread easily through shared tools.
Start by rinsing your tools under warm water to remove any visible dirt and polish debris. Use a small brush with mild soap to scrub into the grooves and joints where buildup hides, then rinse everything thoroughly again. For metal tools specifically, soak them in a 70% isopropyl alcohol solution for at least ten minutes or use a hospital-grade disinfectant according to the product instructions.
After disinfecting, dry the tools completely with a clean towel and let them finish air-drying on a paper towel to prevent rust from forming. Avoid soaking wooden or porous handles in alcohol for extended periods because the liquid damages the material over time. Instead, wipe these handles with disinfectant wipes and let them air dry naturally. Always replace tools that show chips, bent edges, or loose parts, since damaged tools can harbor bacteria and even cause injury during use.
Storing Your Tools the Right Way
Keep metal tools in a lined hard case or zippered pouch to protect their edges and prevent dulling. Store everything in a cool, dry place away from humidity and direct sunlight, and never store damp tools because moisture causes rust within days. I learned this the hard way after ruining a brand new pair of cuticle nippers by putting them away while still slightly wet, so trust me when I say drying is everything.
Common Mistakes That Damage Your Nails
Most nail problems come from using dull tools, working on wet nails, or filing too aggressively. Replace emery boards every ten to fifteen uses and swap out clippers the moment you notice uneven cuts. Cross-contamination is the other big issue, so sanitize metal tools after every use with 70% isopropyl alcohol. Discard wooden implements after each session and throw out any tool showing rust or pitting because those flaws harbor bacteria.
Final Thoughts
Great at-home manicures aren’t about talent. They’re about having the right tools and taking proper care of them. These 6 essentials cover everything you need to get salon-quality results without the salon price tag. Invest once, maintain them properly, and your home manicure game will genuinely transform. Honestly, your nails deserve better than dollar store clippers, so make the upgrade and watch the difference happen.