Tired of the Same Old Ponytail? These 7 Long Hair Styles Will Change Everything
How many mornings have you stood in front of a mirror, stared at your long hair, and just pulled it into the same ponytail because nothing else seemed worth the effort? Long hair has incredible potential, but the gap between “Pinterest tutorial” and “real life results” can feel impossibly wide when you are running low on time, patience, or both.
That is exactly why these seven styles exist: they are designed for real people with real schedules, not trained stylists filming in professional lighting. Every look on this list works with basic tools you already own, holds up through a full day without collapsing, and looks intentional enough to get compliments from people who assume you spent far longer than you actually did. If you have been exploring trending hairstyle options for long hair and feeling overwhelmed, this list narrows it down to the ones that actually deliver.
1) The Sleek Low Ponytail with a Clean Center Part
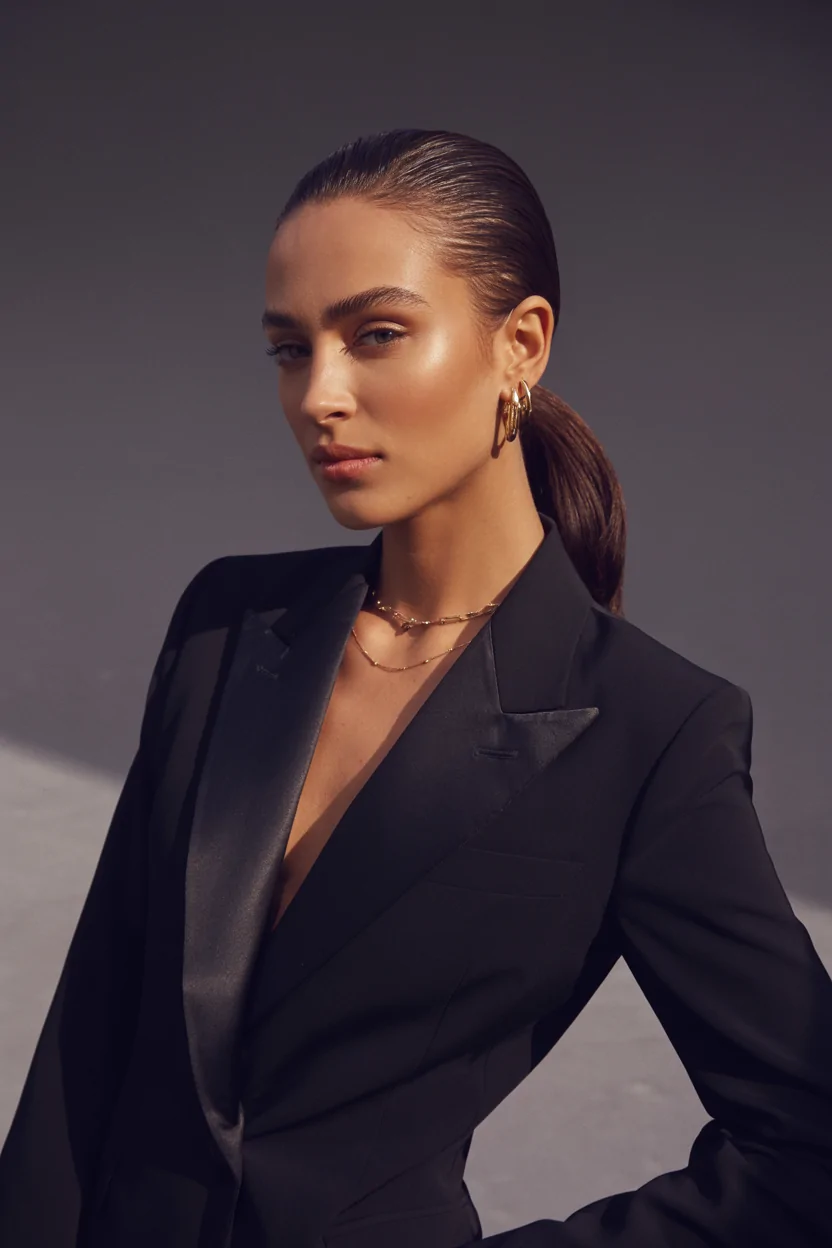
I keep coming back to this one because it solves a very specific problem: looking polished when you have almost no time. The center part does the structural work by framing your face symmetrically, and pulling the hair back low at the nape creates this clean, expensive look that reads as deliberate rather than default.
A small amount of smoothing serum run through the lengths before pulling back is what separates a sleek low ponytail from a tired low ponytail. I started doing this about a year ago after a colleague showed up to a meeting looking incredible in exactly this style, and I realized the difference was just product placement and intention. Wrap a thin section of hair around the elastic to hide it, and the whole thing suddenly looks like you walked out of a professional salon appointment. Works best on straight or slightly wavy hair, takes five to ten minutes, and handles office settings, dinner dates, and formal events without a single adjustment.
Pro Tip: Apply a lightweight hair oil to your palms and smooth it over the finished ponytail from mid-length to ends. This adds shine that catches light and makes even day-old hair look freshly styled.
2) Effortless Beach Waves with Soft, Subtle Layers
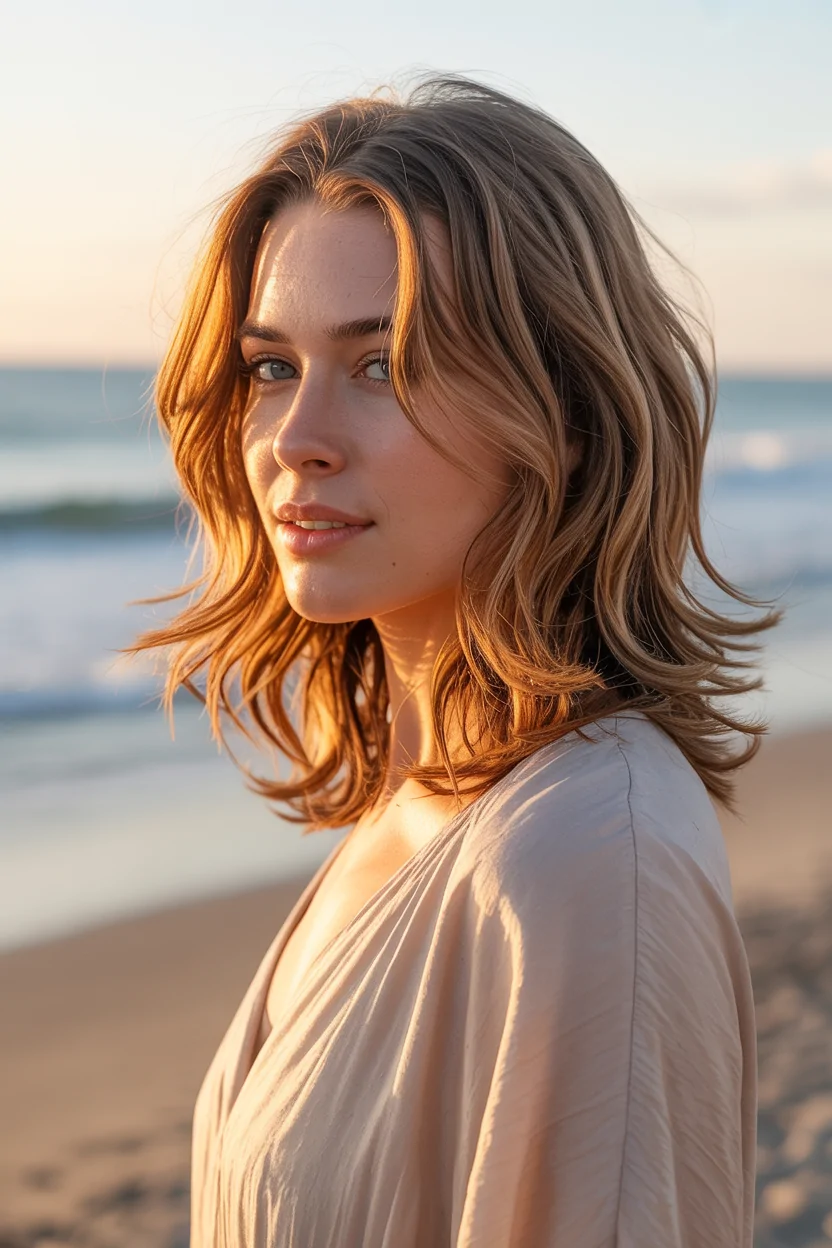
There is something about beach waves that makes hair look instantly fuller, healthier, and somehow like you just came back from vacation. The subtle layers are what give the waves their natural movement: without them, waves tend to sit flat and lose their dimension by midday.
The overnight braid method is the easiest entry point here. Braid damp hair before bed, sleep on it, and wake up with waves that would take a curling iron twenty minutes to create. I have been doing this every Sunday night for months and the results are consistently better than anything I achieve with heat tools. Scrunch in some sea salt spray while the hair is still slightly damp after unbraiding, and the texture holds through an entire day. This pairs well with layered haircut styles that give waves more surface area to work with. Best for brunches, casual outings, and beach days on medium thickness hair.
Did You Know: Sea salt spray works by dehydrating the outer layer of each hair strand slightly, which creates natural grip and texture. That “lived-in” wave texture is actually your hair responding to salt crystals creating micro-friction along the shaft.
3) The Classic French Braid with Romantic Soft Tendrils
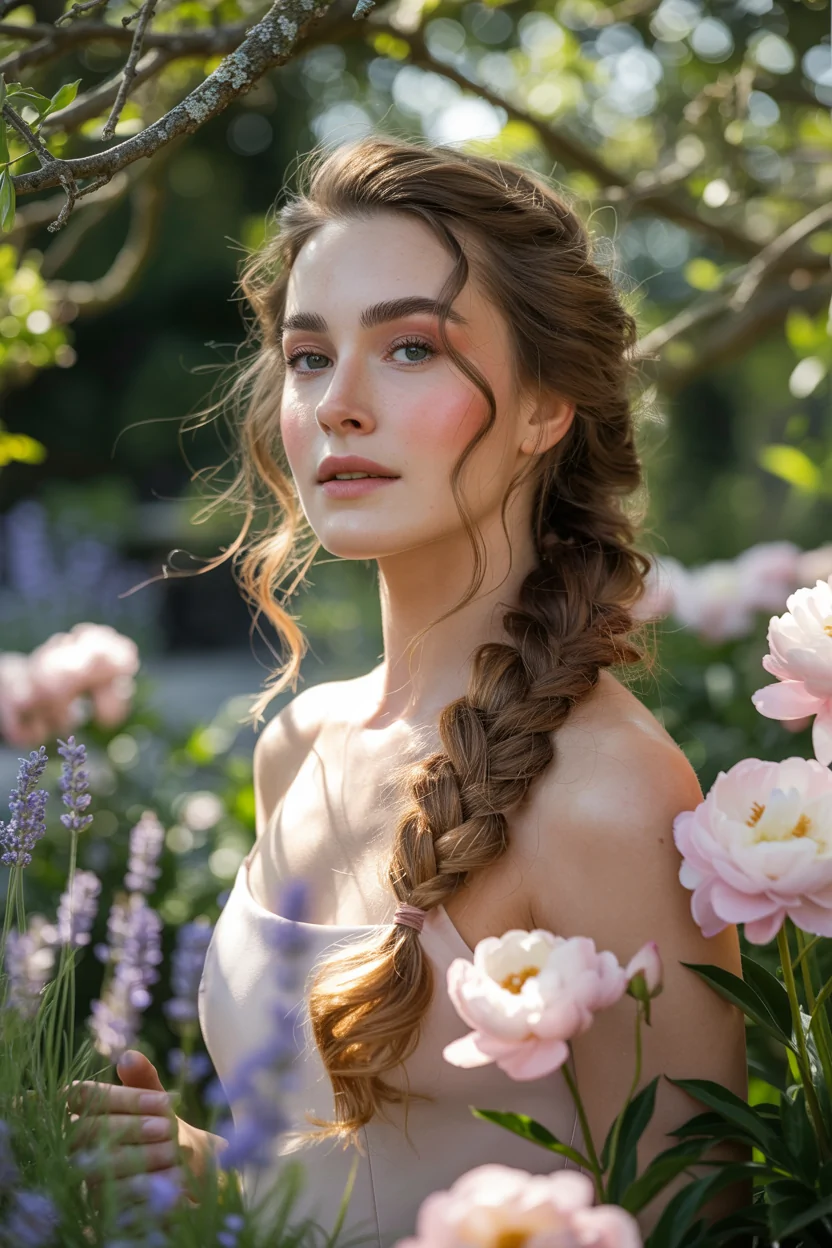
I avoided the French braid for years because every tutorial made it look like you needed a degree in engineering to get the sections right. Then one morning I just sat down without rushing, started with loose tension at the top, and gradually tightened as I moved down. The whole thing clicked.
The secret most tutorials skip is starting loose. Tight tension from the beginning makes the entire braid look stiff and overdone, while relaxed tension at the crown creates that effortless, lived-in quality that makes French braids look beautiful rather than severe. The soft tendrils are the finishing detail that transforms the entire look: pull a few thin pieces near your temples after completing the braid, and wrap them around a curling wand for eight seconds each. Those face-framing wisps add a romantic quality that a tight, polished braid simply cannot replicate. For more braid techniques that work on yourself, the braiding guide for beginners covers the foundational techniques.
Common Mistake: Pulling all sections with equal tension from top to bottom. The top third of a French braid should sit loosely against your head, the middle third should have medium tension, and only the bottom third should feel secure. This graduated approach creates the most natural, flattering silhouette.
4) The High Messy Bun with Loose Face-Framing Pieces
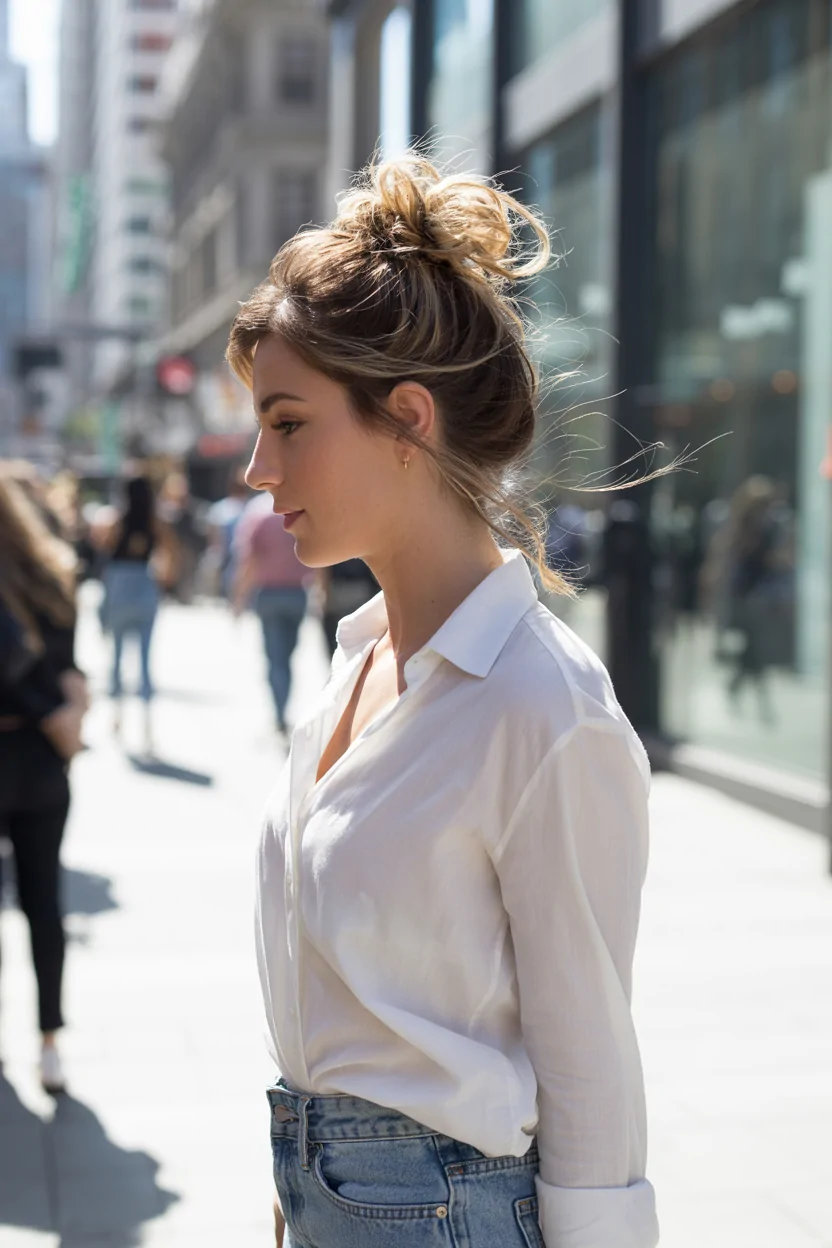
The messy bun has a reputation as a “gave up on life” hairstyle, but when you build it with a little direction, it becomes one of the most flattering options for long hair. The high placement is what changes everything: a bun sitting right at the crown lifts your entire face, makes cheekbones appear more defined, and creates an energy that a low bun just does not match.
My cousin wears this style almost every day and people constantly ask her if she just left a salon. Her trick is pulling out face-framing pieces on both sides before securing the bun, then letting those pieces air dry with their natural texture rather than curling them. Twist the hair loosely, wrap it around itself, and then pull the bun apart gently with your fingers to add volume. A little dry shampoo at the roots before building gives the grip and texture that makes the messiness look deliberate. This style connects to the same messy bun philosophy that has dominated casual styling this year: intentional imperfection over tight polish.
Warning: Wearing tight, high buns every single day can cause traction alopecia, a form of hair loss caused by repeated pulling at the hairline. Give your hair at least two to three days per week without high-tension updos, and always use snag-free elastics without metal clasps to minimize breakage.
5) Sharp Blunt-Cut Long Hair with Bold Statement Bangs
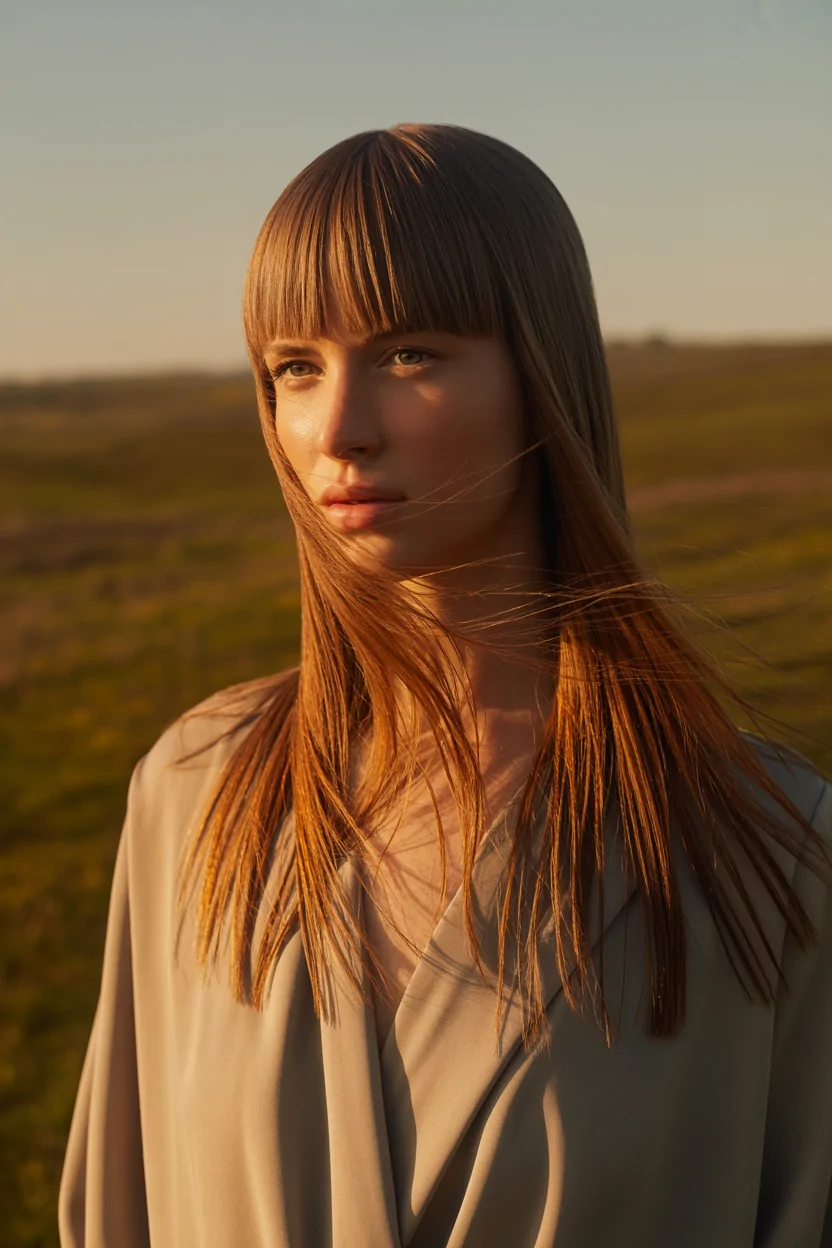
There is a confidence that comes with a blunt cut that no layered style can replicate. When all your ends are cut to the same length, light reflects uniformly off the bottom edge, which makes your hair appear thicker, shinier, and healthier than it might actually be. Pair that with bold, dense bangs cut straight across and the whole look becomes a statement.
Bold bangs are actually more forgiving than wispy ones because their density and weight keep them sitting exactly where you place them. They do not separate awkwardly in humidity or fly around in wind the way thin bangs tend to. The daily maintenance is about ten to fifteen minutes once you learn the round brush blow-dry technique: roll slightly forward and under while drying, and the bangs fall into that polished curtain shape that looks editorial. If bangs have been on your radar, the complete bang styling guide breaks down which shapes work for different face structures. Works best on straight to slightly wavy hair with medium to thick density.
Try This: If you are not ready to commit to a full blunt cut, ask your stylist for a “one-length trim” that removes any existing layers gradually over two or three appointments. This eases the transition without a dramatic single-session chop.
6) The Half-Up Twisted Crown Braid That Looks Harder Than It Is
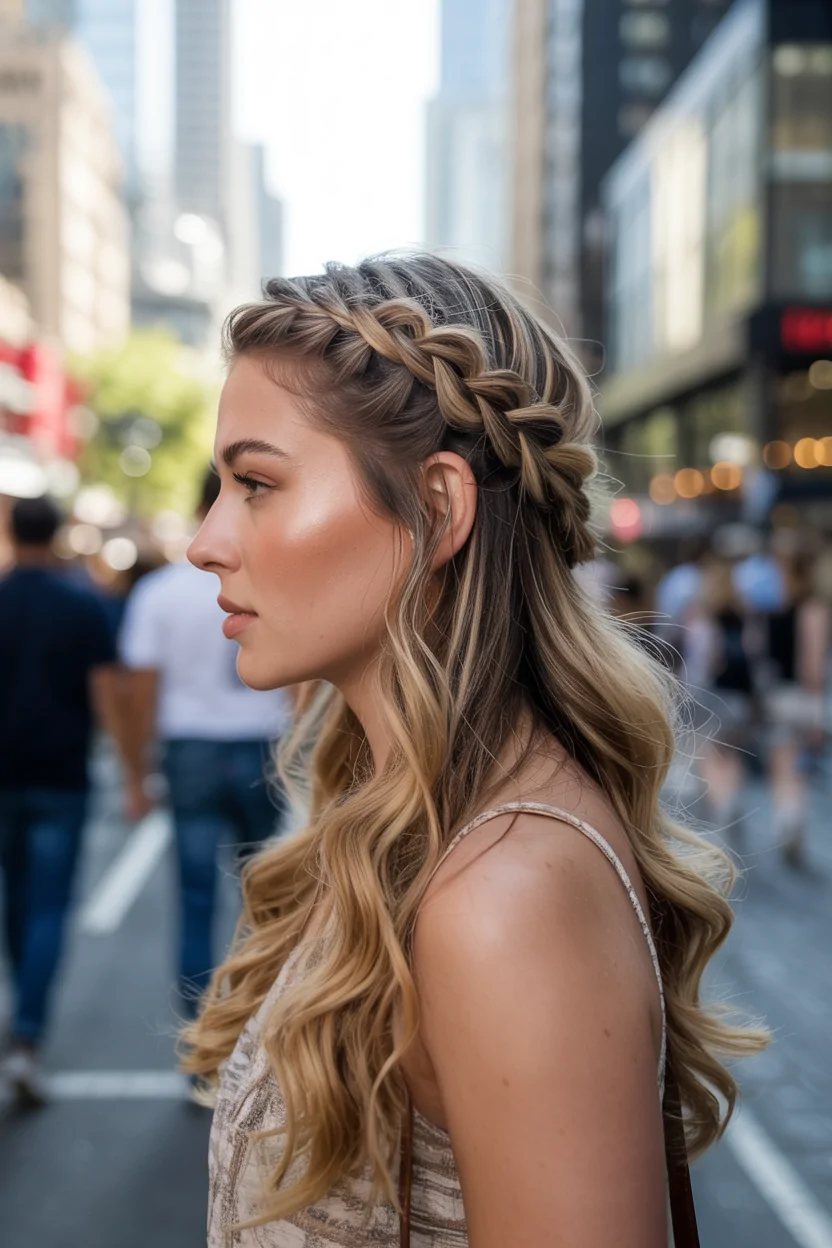
If there is one style on this list that consistently gets the “how did you do that?” reaction, it is this one. The half-up twisted crown looks intricate and detailed, but the actual technique is simpler than a full braid because you are only working with two small sections of hair rather than your entire head.
Take sections from either side near your temples, twist them back toward the center, and pin them together at the back of your head. The twist creates a beautiful rope-like texture that mimics a crown without any actual braiding required. Position the twist high enough that it sits like a delicate band across the back of your head, then pull it slightly loose for that effortless quality. This style is especially forgiving on wavy and textured hair, which is why it works so well as a half-up half-down variation for weddings, brunches, and outdoor events. Takes ten to fifteen minutes.
7) Retro Voluminous Curls with a Glamorous Side Sweep
There is a particular kind of glamour that old Hollywood understood perfectly, and retro voluminous curls are the style that captures it. The volume is the soul of this look: without it, you just have curls, but with it, you have something that commands attention in any room.
The prep determines everything. A volumizing mousse worked through damp hair before blow drying builds the foundation, and rough drying upside down creates the root lift that carries the entire style. Use a large barrel curling iron (one and a quarter to one and a half inches) and wrap sections away from your face, letting each curl cool completely in your hand before releasing. Skipping the cooling step is why most people’s curls fall flat within an hour. Sweep the entire thing to one side over your shoulder for the retro signature. For color that complements voluminous curls under summer light, the seasonal hair color direction covers the shades that photograph best with movement and dimension. Best for date nights, weddings, and formal events on medium to thick hair. Time needed: thirty to forty-five minutes.
Important Note: Fine hair requires extra product support for this style. Layer a volumizing mousse with a strong-hold hairspray (applied to each cooled curl individually before brushing out) to build structure that lasts beyond the first hour.
Quick Comparison of All 7 Long Hair Styles
| Style | Best Occasion | Hair Type | Time Needed | Difficulty |
|---|---|---|---|---|
| 1. Sleek Low Ponytail | Office, formal events | Straight, slightly wavy | 5-10 min | Easy |
| 2. Beach Waves | Casual outings, brunches | Medium thickness | 15-20 min (or overnight) | Easy |
| 3. French Braid | Everyday, romantic settings | All types | 10-15 min | Moderate |
| 4. High Messy Bun | Lazy mornings, casual plans | All thicknesses | 5-10 min | Easy |
| 5. Blunt Cut + Bold Bangs | Everyday, date nights | Straight, medium-thick | 10-15 min daily | Low (once cut) |
| 6. Twisted Crown Braid | Weddings, brunches, events | Wavy, textured | 10-15 min | Easy |
| 7. Retro Curls | Formal events, weddings | Medium to thick | 30-45 min | Advanced |
Choosing the Right Tools and Protecting Hair from Heat
The tool you use on long hair matters more than the technique you apply with it. A wide-tooth comb starting from the ends and working upward is non-negotiable for detangling: it moves through knots without forcing them, which means significantly less breakage over time. A paddle brush handles smoothing, while a natural bristle brush distributes your scalp’s natural oils down the shaft with every stroke, which is essentially free conditioning.
For heat tools, ceramic plates and barrels distribute heat evenly instead of creating hot spots that scorch one section while leaving another barely warm. Ionic technology seals the hair cuticle, which translates directly to less frizz and more shine. The most important rule is never skipping heat protectant: apply it every single time before picking up a hot tool, keep temperatures at or below 350 degrees, and limit heat styling to two or three sessions per week. The complete healthy hair routine covers the full daily and weekly schedule for maintaining strong lengths.
Maintaining Moisture and Natural Shine in Long Hair
Long hair loses moisture faster than short hair because natural scalp oils have a much longer distance to travel before reaching the ends. Without supplemental hydration, the last several inches of long hair become dry, dull, and prone to snapping.
Conditioner after every wash (worked through mid-lengths and ends, left for a minute, rinsed with lukewarm water) is the foundation. Hot water strips the natural oils your scalp produces, and those oils are your hair’s first defense against dryness. A lightweight leave-in conditioner or hair oil applied to damp hair after washing extends that hydration through the day without weighing hair down. Silk pillowcases reduce friction and moisture loss overnight, and the difference shows within the first week. The skincare-to-haircare routine connection applies the same “consistent small habits” philosophy that works for both skin and hair health.
Preventing Breakage and Split Ends Before They Start
Breakage and split ends are almost always the result of small repeated stresses rather than a single damaging event. The elastic snapped onto a ponytail every morning, the rough towel rubbing after a shower, the heat applied without protection: none of these feel significant individually, but your hair keeps score and eventually the damage shows.
A trim every six to eight weeks is the most effective prevention. Split ends do not stay at the ends: they travel up the shaft and cause damage further along if left untreated. Beyond trims, switching to a microfiber towel for blotting (never rubbing), using elastics without metal clasps, and choosing loose styles over tight ones when possible are the changes that separate long hair that thrives from long hair that just survives. The hair growth and maintenance approach covers the product side of length retention for anyone actively growing their hair longer. Consistency with these small adjustments matters more than any single expensive treatment.
Long hair styling stops being frustrating the moment you find the three or four looks that work for your texture, your schedule, and your life. Pick one style from this list, try it this week, and notice how different it feels to get dressed when your hair is already handled. Which one are you trying first?