How to Apply Eyeliner Like a Pro: Step-by-Step Guide for Perfect Results
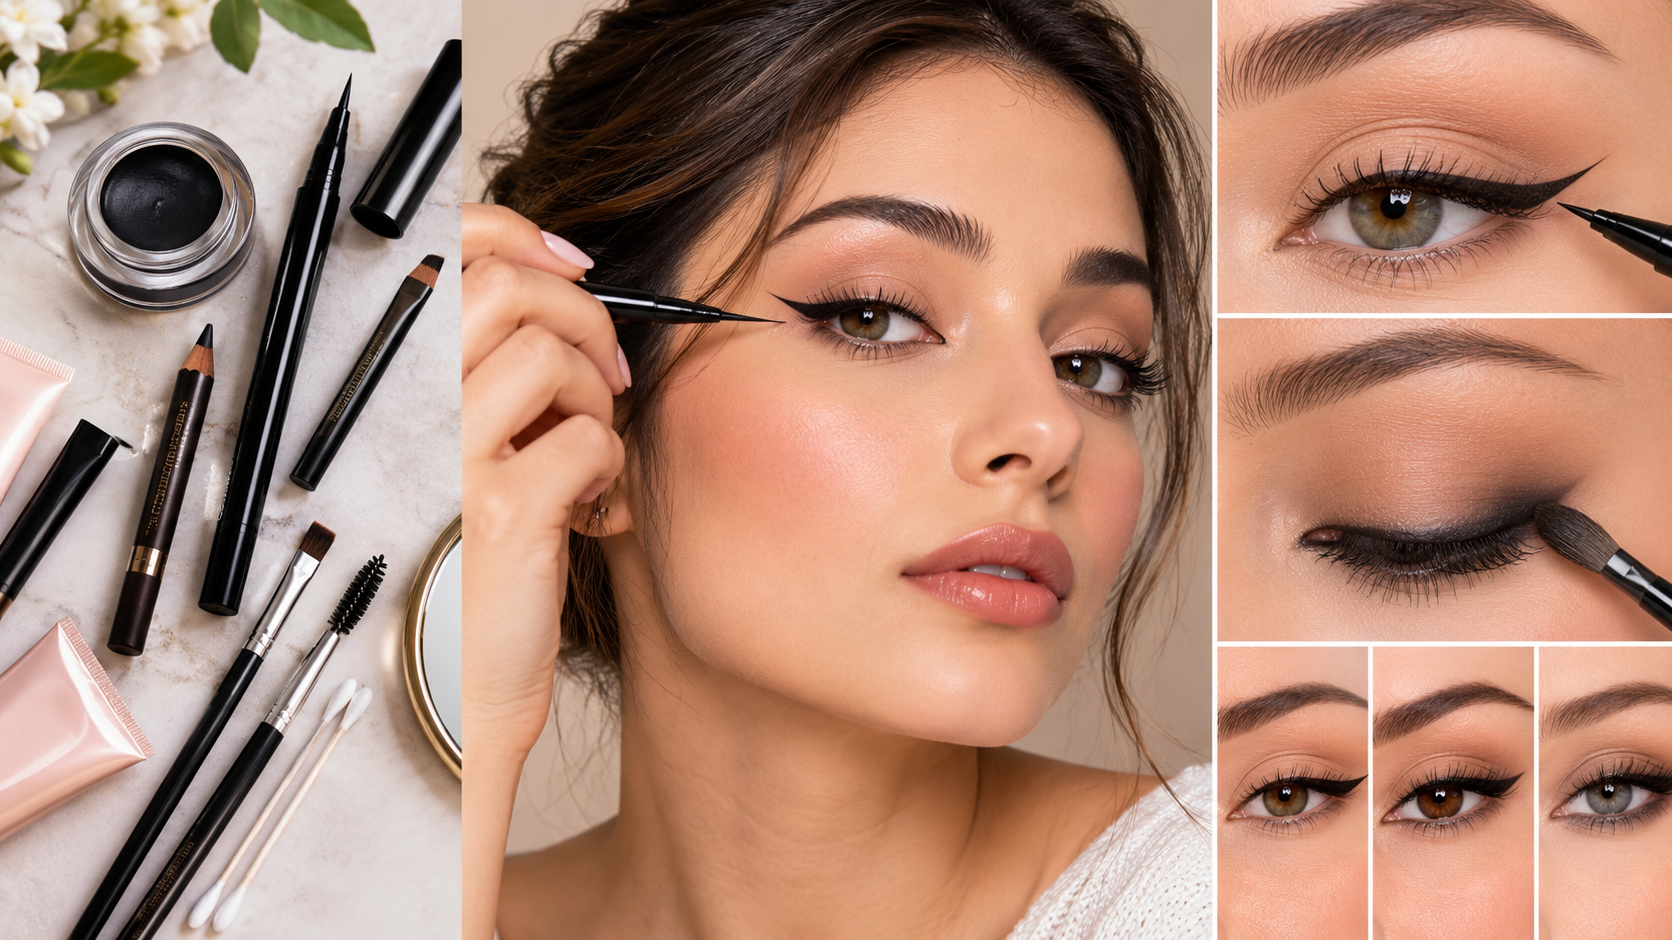
Mastering eyeliner can feel like learning an entirely new language, especially when one eye turns out flawless and the other looks like you let your little sister do it. Whether you want a subtle daytime line or a sharp dramatic wing, getting consistent results requires technique more than expensive products. The good news is that perfecting your eyeliner is absolutely learnable with the right approach.
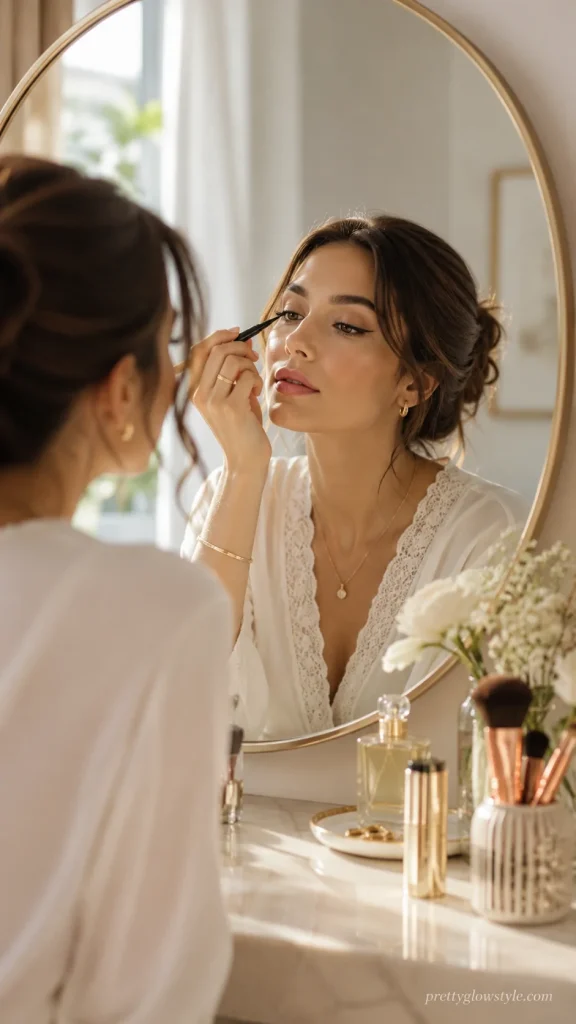
My best friend used to avoid eyeliner completely after years of frustrating attempts, until she finally learned the proper steps from a makeup artist. Within weeks, her eyeliner game was sharper than mine and her confidence skyrocketed. So if you’ve been struggling to nail that perfect line, this step-by-step guide will walk you through everything you need for pro-level results.
Essential Eyeliner Tools and Products
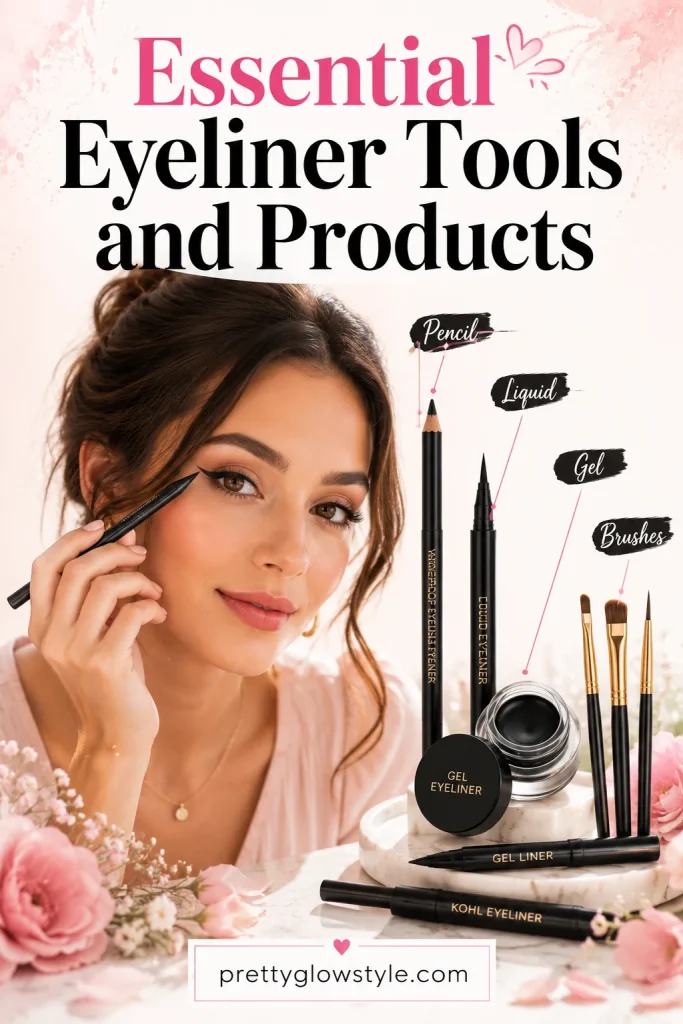
Before you can master eyeliner, you need the right tools in your arsenal. A quality eyeliner pencil, gel pot with a brush, and liquid liner cover every possible look from soft smoky to sharp graphic lines. Pair these with a small angled brush, eyeshadow primer, and a few cotton swabs for clean up.
My cousin invested in just three good liners last year and her makeup game transformed completely. Choose products based on the looks you want to create most often, because building your collection slowly with quality items beats owning dozens of mediocre ones that never give you the results you actually want.
Choosing the Right Eyeliner Type
The eyeliner type you choose directly affects how your final look turns out. Pencil liners give you the softest finish and work best for smoky eyes and tightlining. Gel liners deliver bold pigmented lines with flexibility, while liquid liners create the sharpest most precise wings.
I rotated through every type before figuring out that liquid liners work best for my daily looks because of the clean defined lines they create. Honestly, having all three types in my collection gave me the flexibility to switch between subtle daytime makeup and dramatic evening looks without compromise.
Selecting Eyeliner Brushes and Accessories
Choosing the right brush shape directly affects how clean and precise your eyeliner turns out. A thin fine tipped brush handles detailed work with gel or cream liners, while an angled brush makes sharp wings and follows your lash line naturally. Keeping a small sponge or cotton swab nearby for cleanup and a spoolie for blending pencil lines completes your basic toolkit.
I learned the hard way that brush quality matters more than I initially thought, after years of struggling with cheap brushes that left streaky uneven lines. Switching to firm synthetic bristled brushes designed for cream and gel formulas changed my entire eyeliner experience, and I always replace them the moment the bristles start splaying.
Understanding Kajal, Gel, and Pencil Variations
Kajal liners are softer and creamier than regular pencils, gliding easily across the waterline for that smoky smudged finish. Gel eyeliner sits between pencil and liquid, delivering bold opaque color that builds beautifully for dramatic looks. Pencil liners range from soft creamy formulas perfect for smoky eyes to harder mechanical pencils that create fine precise lines lasting hours.
I keep all three types in my collection because each serves a completely different purpose for the looks I create daily. My everyday rotation includes a soft kajal for the waterline, a gel pot for winged liner, and a firm mechanical pencil for those quick polished moments when I need precision in under sixty seconds.
Prepping Your Eyes for Flawless Application

Skipping eye prep is honestly the biggest mistake I see people make when applying eyeliner. Starting with clean, primed eyelids creates the smooth canvas eyeliner needs to glide on evenly and stay put for hours. Without proper prep, even the best products will smudge, fade, or settle into creases by midday.
I never apply eyeliner without first cleansing my lids and patting on a small amount of eyeshadow primer. This single step transformed how long my eyeliner lasts and how sharp my lines stay throughout the day, especially on my naturally oily eyelids where liner used to fade within hours.
Cleansing and Priming the Eyelids
Start by removing oil and old makeup with a gentle eye safe cleanser or micellar water on a cotton pad. Press it gently on your closed lid for a few seconds before wiping along the lash line. Pat the area dry with a clean tissue to create the smooth base eyeliner needs.
I always avoid heavy creams on my lids because excess moisture causes liner to transfer and smudge within hours. Apply eye cream only around the orbital bone, never directly on the lid itself, for the best lasting results.
Using Eye Primer for Long-Lasting Results
Apply a thin layer of eye primer across the lid and inner corner using your ring finger to tap and blend gently. Primer fills fine lines, controls oil, and keeps your liner crisp throughout the day. Wait twenty to thirty seconds for it to set before moving forward.
I learned that lightly dusting translucent powder over the primer is a game changer for my naturally oily lids. This extra step keeps my eyeliner from smudging or fading even during long busy days.
Setting Up for Precise Lines
Gather everything before you start including your eyeliner, an angled brush if using gel, cotton swabs, and a compact mirror. Sit with good lighting and brace your elbow on a table to steady your hand for the cleanest possible application.
I always rest my pinky on my cheek while drawing the line because that stability genuinely makes the difference between shaky and sharp results. Use short controlled strokes along the lash line and keep a Q-tip dipped in makeup remover nearby for quick clean ups.
Step-by-Step Eyeliner Techniques

Choose your tool based on the look you want, with pencil for control, gel for intensity, and liquid for sharp lines. Tilt your face slightly, pull the skin taut at the outer corner, and use small short strokes from the inner corner outward staying as close to the lashes as possible.
I always rest my elbow on a flat surface for better control and keep a cotton swab dipped in micellar water nearby for quick cleanup. This simple setup has saved me from countless eyeliner disasters over the years.
Creating the Perfect Cat Eye and Winged Looks
Map your wing first by drawing a thin guide line from the outer corner toward the end of your eyebrow, then connect back to the lash line to form a small triangle. Start thin at the inner corner and gradually thicken the line toward the outer third before filling the triangle.
I always do both wings before darkening either side because symmetry is so much easier to achieve that way. A felt tip liquid liner creates the sharpest wings, while gel with an angled brush gives me more control on softer days.
Smokey Eye and Blended Liner Effects
Use a soft pencil or gel liner that smudges easily, drawing a slightly thicker line along the upper lash line. Blur the line upward into your lashes with a dense smudger brush or cotton bud for that perfect blended effect.
I always layer matching eyeshadow over the smudged liner to lock everything in place and deepen the intensity. Building the smoke in thin layers gives me more control than pressing hard from the start.
Tips for Waterproof and Smudge-Free Results
Prime your lids before any application to reduce oils and maximize staying power throughout the day. Set pencil or gel liner with matching eyeshadow pressed on top, and apply thin layers letting each dry before adding more.
I only use waterproof formulas when truly necessary because the removal process can be harsh on delicate skin. An oil based remover gently lifts everything off without any tugging or irritation.
Eyeliner for Almond, Round, and Hooded Eyes
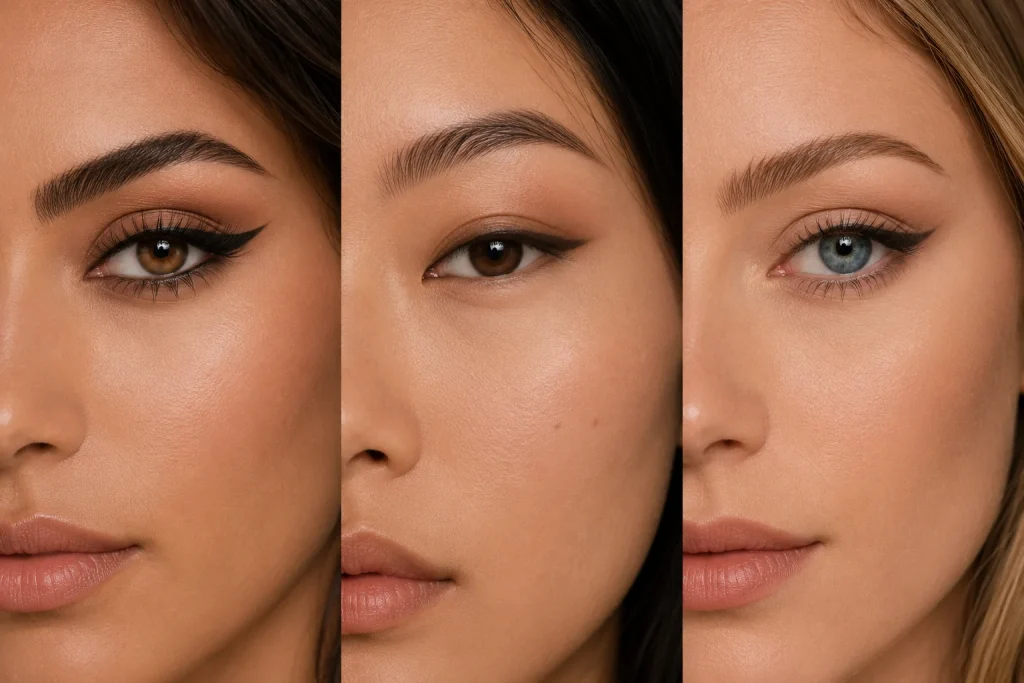
Almond eyes work with almost every style, so start liner three quarters in and gradually thicken toward a small wing for emphasis. Round eyes benefit from elongation, with thin lines extending past the outer corner in a long low wing to balance the shape.
I have hooded eyes and learned the hard way that thick liner near the inner eye disappears completely when my eyes are open. Tight lining the upper waterline and building thickness only toward the outer third made my eyeliner finally visible all day.
Techniques for Different Face Shapes
Round faces look stunning with extended angled wings that add horizontal length and create a slimming effect. Square faces soften beautifully with curved wings rather than harsh straight lines, while heart shaped faces benefit from slightly thicker outer corners that balance the chin.
I have an oval face and honestly feel grateful for the flexibility it offers because almost every eyeliner style works without much adjustment. Subtle thin lines for daytime and bold cat eyes for evenings have become my go to routine.
Troubleshooting Common Eyeliner Mistakes
Uneven wings happen to everyone, so use tape as a temporary guide and draw anchor dots before connecting them with short strokes. Smudging issues often come from skipping primer, so always set pencil liner with matching eyeshadow pressed on top.
I used to draw lines way too thick before learning to apply from the middle outward and connect to the inner corner last. Adding a nude or white pencil to the inner lower waterline also opens up my eyes whenever they look small or tired.
Final Thoughts
Mastering eyeliner truly is about technique, patience, and using the right tools for your specific eye shape. Every tip in this guide builds on the next, so don’t get discouraged if your first few attempts aren’t perfect. Practice consistently, experiment with different styles, and trust that your skills will improve faster than you expect. Honestly, the moment you finally nail that perfect winged liner on both eyes feels like a small personal victory worth celebrating.