10 Eye Makeup Ideas Every Girl Needs to Try: Bold Looks, Step-by-Step Tips

Staring at a palette full of gorgeous shades but always defaulting to the same brown wash because everything else feels intimidating? You are absolutely not alone. Eye makeup is where most people feel stuck, either bored with their go-to look or overwhelmed by techniques that seem to require an art degree. The good news is that ten well-chosen eye looks, broken down into simple steps, can completely transform your makeup confidence without demanding hours of practice or a professional kit.
From soft rose gold washes perfect for everyday wear to bold graphic liner made for a night out, these ideas cover the full range of occasions and skill levels. Each look includes practical application tips so you can actually recreate them at home, plus guidance on which eye shapes and skin tones each style flatters most. If you want to build a stronger foundation first, this guide on how to apply eyeshadow like a pro covers the core techniques that make every look below easier to master.
Soft Rose Gold Eyeshadow
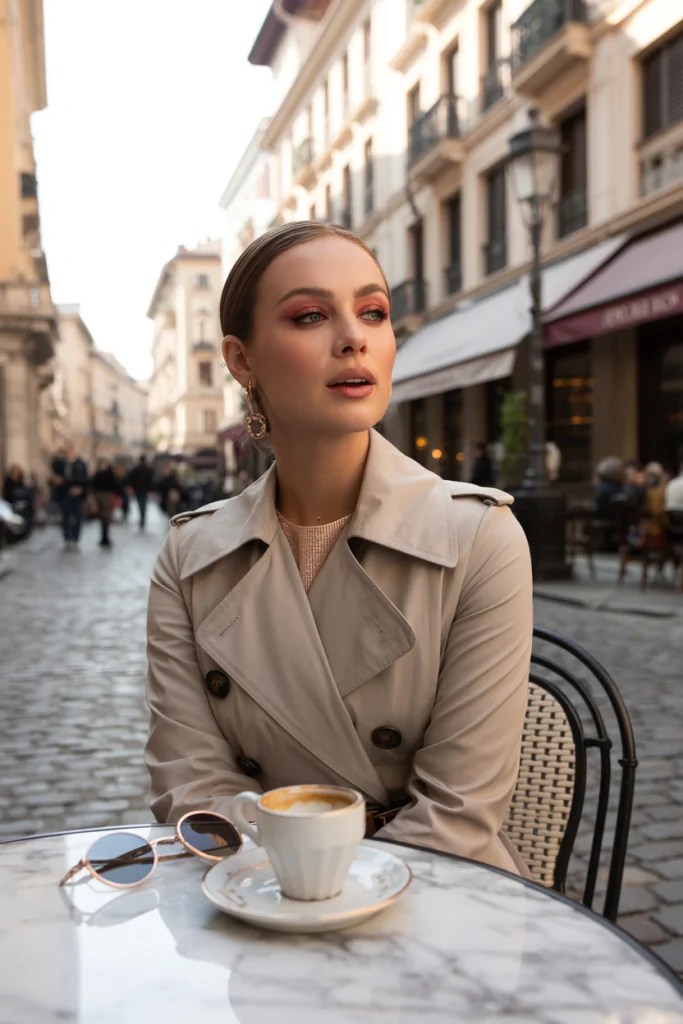
Rose gold is genuinely the most universally flattering eyeshadow shade because its warm pink undertones brighten the eyes and complement nearly every skin tone. The metallic finish catches light beautifully, making it a favorite for both daytime freshness and evening glow.
Start by patting a rose gold shade across the lid using your finger, which grips shimmer better than any brush. Blend a soft brown into the crease for depth, then add a touch of the rose gold to the inner corners to open up the eyes. This look works especially well for green and brown eyes because the warm tones create striking contrast. I reach for rose gold whenever I want to look polished but effortless, and it takes under five minutes once you get the placement right. For more shade inspiration, this gorgeous eyeshadow ideas guide offers versatile combinations worth exploring.
Pro Tip: Spray your brush or fingertip with a setting spray before picking up metallic shadows; the slight dampness intensifies the pigment payoff and creates a foil-like shine that dry application never achieves.
Classic Smoky Eye
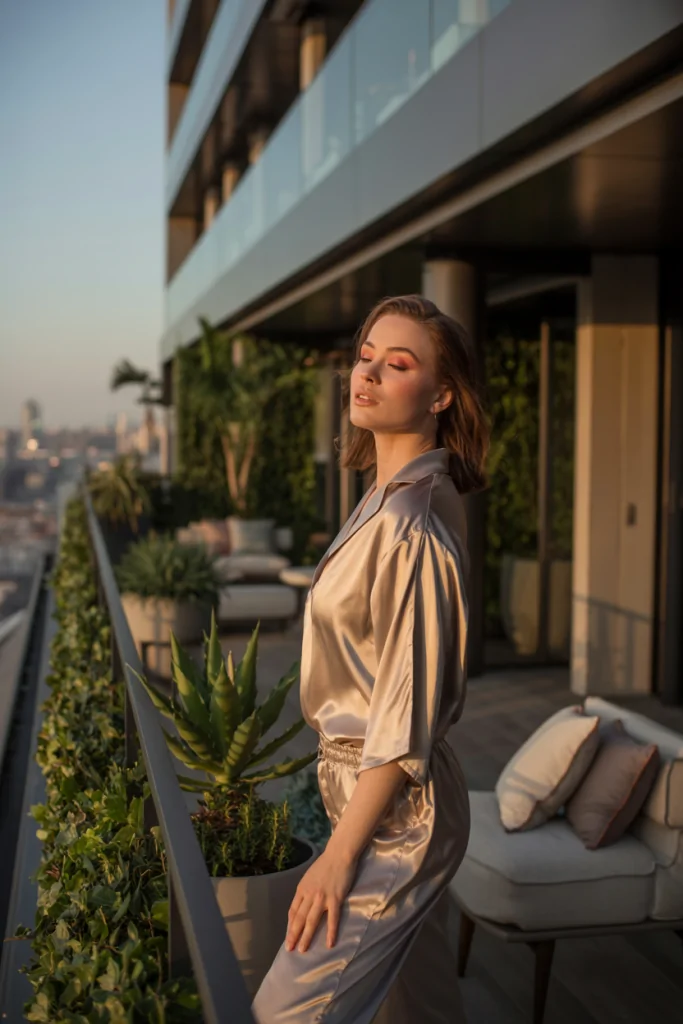
The smoky eye remains the most requested evening look because it adds instant drama and depth. Contrary to popular belief, a smoky eye does not have to be black; browns, greys, and deep plums create softer versions that flatter without overwhelming.
Begin with a transition shade in the crease to create a gradient, then pack a darker shade onto the lid and blend upward and outward. The key is diffusing every hard edge until the color melts seamlessly. Smudge a matching liner along the lash line and lower lash line to complete the sultry effect. This look flatters everyone but works especially well for hooded eyes when the darker shade is kept close to the lash line. My friend swears by a bronze smoky eye for every wedding she attends, and it consistently photographs beautifully. For those still learning liner control, this step-by-step eyeliner guide breaks down the smudging technique clearly.
Warning: Applying dark smoky shades before your face makeup means fallout lands on foundation and ruins the base; always complete eye makeup first, then clean up fallout, then apply foundation and concealer.
Graphic Winged Liner

Graphic liner has moved from editorial runways into everyday wear because it adds a sharp, fashion-forward edge to any look. The classic winged liner extends the eye outward and upward, creating an instant lifted, elongated appearance.
Use a felt-tip liner or gel with an angled brush for the most control. Start thin at the inner corner, thicken gradually toward the outer edge, and create the wing by following the natural upward angle of your lower lash line. Practice makes this significantly easier, so do not be discouraged by early attempts. This look flatters almost every eye shape, though monolids and hooded eyes benefit from slightly thicker wings drawn with the eye open. Precision liner takes practice but becomes second nature within a few weeks of consistent attempts. Anyone wanting to master the technique should check this detailed eyeliner application guide for troubleshooting tips.
Did You Know: Winged eyeliner dates back to ancient Egypt around 3100 BCE, where both men and women lined their eyes with kohl not just for beauty but to reduce sun glare and ward off eye infections.
Natural Brown Matte Shadow
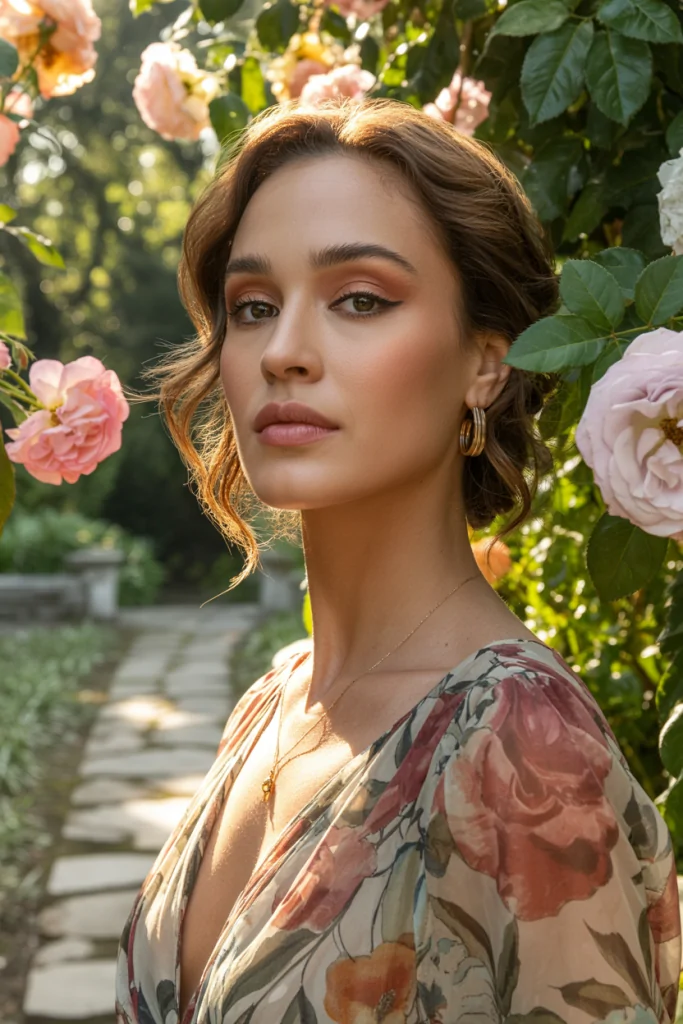
Brown matte shadow is the reliable everyday choice that never looks overdone, making it perfect for work, school, or minimalist makeup days. Matte finishes create soft definition without any shimmer, keeping the look understated and professional.
Sweep a light brown across the entire lid as a base, then deepen the crease with a medium brown to add dimension. Blend thoroughly so no harsh lines remain, and the result is a natural-looking depth that enhances your eyes without announcing itself. This look is ideal for anyone with textured or mature eyelids because matte shadows do not emphasize fine lines the way shimmers can. Neutral matte browns suit every skin tone and eye color, making them a wardrobe staple. For anyone building a versatile everyday routine, these eye makeup ideas pair well with a natural matte base.
Common Mistake: Choosing a matte brown with grey or ashy undertones on warm skin tones creates a muddy, tired appearance; always match your brown shadow’s undertone to your skin’s warmth or coolness for a flattering result.
Subtle Shimmer on Lid

A single wash of shimmer on the lid is the fastest way to look put-together when you have zero time. This one-product technique brightens the eyes instantly and works for every occasion from morning coffee runs to last-minute dinner plans.
Choose a champagne, soft gold, or pearl shade and pat it across the center of the lid with your fingertip. Concentrate the shimmer in the middle to create the illusion of rounder, more awake eyes. That is genuinely the entire technique, which is why it is perfect for beginners. This look flatters everyone and photographs beautifully because the light reflection adds a fresh, youthful quality. My sister uses a single champagne shimmer as her everyday look and constantly gets compliments on how bright and rested she looks. For a broader collection of quick looks, this eyeshadow ideas guide offers plenty of low-effort options.
Try This: Apply a shimmery inner-corner highlight in a pale gold or white shade; this single dot of light creates the illusion of wider-set, brighter eyes and takes under ten seconds to apply.
Neutral Taupe Blend
Taupe is the perfect in-between shade for anyone who finds brown too warm and grey too cool. This muted, greige tone creates soft, sophisticated definition that reads as elevated and modern without any dramatic effort.
Apply taupe through the crease and blend upward for a diffused, seamless gradient. Add a slightly deeper taupe to the outer corner for extra dimension, then finish with a matte cream shade on the brow bone to lift the look. The result is understated elegance that works for professional settings and casual outings alike. Taupe particularly flatters blue and grey eyes because the neutral tone makes the iris color pop. This shade is a genuinely underrated staple that deserves a spot in every collection. Those refining their blending skills can reference this eyeshadow application tutorial for smoother gradients.
Pro Tip: Use a clean, fluffy blending brush in windshield-wiper motions above the crease after applying taupe; this softens any harsh edges and creates the seamless, professional gradient that defines a polished eye look.
Bold Colored Eyeliner

Colored eyeliner is the easiest way to experiment with bold makeup without committing to a full colorful eye look. A pop of cobalt blue, emerald green, or rich purple along the lash line instantly modernizes any makeup and adds unexpected personality.
Apply your neutral eye makeup first, then draw a thin line of colored liner along the upper lash line or smudge it along the lower lash line. Keeping the rest of the eye neutral lets the color statement shine without looking costume-like. This technique flatters every eye color, and choosing a shade opposite your eye color on the color wheel creates the most striking contrast (blue liner for brown eyes, for example). Colored liner is a low-risk way to step outside your comfort zone. For more adventurous looks, these eyeshadow ideas show how to build colorful eye makeup gradually.
Warning: Cheap colored liners often contain unregulated dyes that can cause irritation or allergic reactions near the delicate eye area; always patch test new colored formulas on your inner arm before applying near the eyes.
Minimalist Tightlining
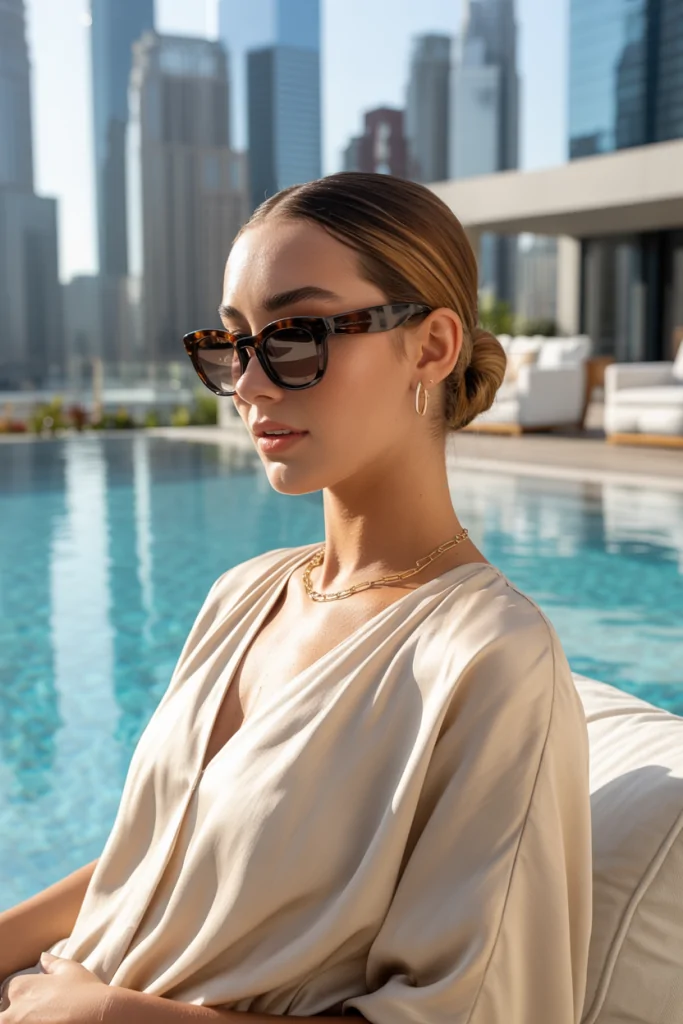
Tightlining is the secret technique makeup artists use to make lashes appear fuller without any visible makeup. By lining the upper waterline (the area between your lashes and eyeball), you create the illusion of denser lashes and defined eyes that look effortlessly natural.
Use a waterproof gel or pencil liner and gently press it into the upper waterline, wiggling the product between the lash roots. This technique requires a steady hand and a quality waterproof formula to prevent smudging. The effect is subtle but transformative, making eyes look more awake without any obvious product. Tightlining is perfect for anyone who wants definition without a “made-up” appearance, and it works beautifully under glasses. Beginners can practice this alongside the fundamentals covered in this eyeliner guide.
Important Note: Only use eye-safe, ophthalmologist-tested products on the waterline; regular pencils can introduce bacteria and irritants directly onto the sensitive mucous membrane, increasing the risk of eye infections and irritation.
Glossy Eyelids
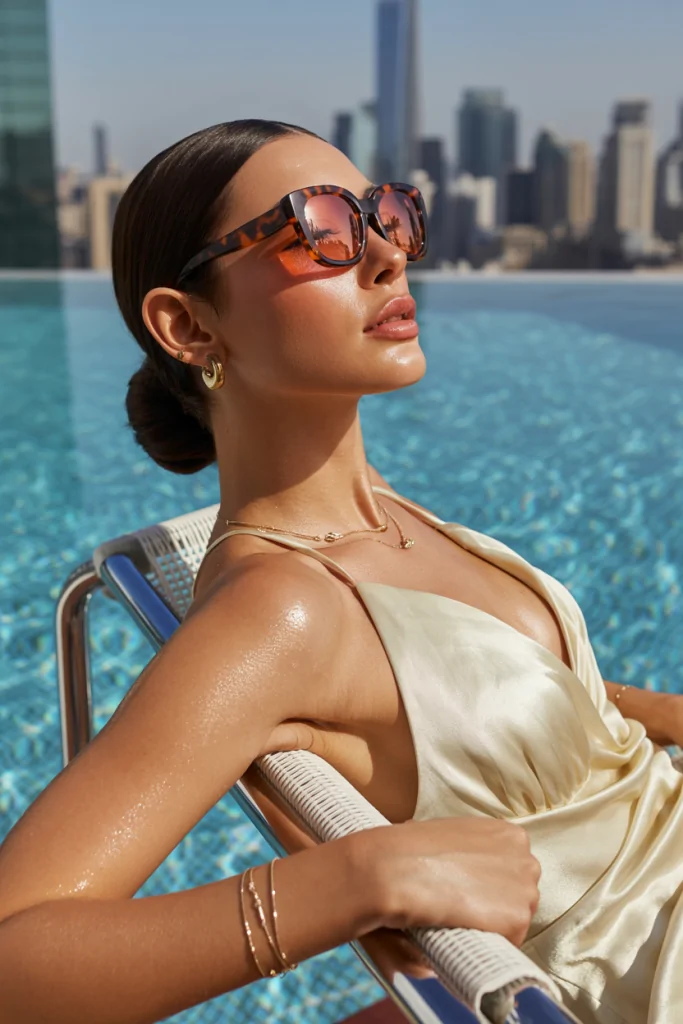
Glossy lids are the editorial trend that keeps resurfacing because they create a fresh, dewy, high-fashion effect. This look features a sheer, reflective glaze across the lid that catches light beautifully, though it does require a bit of maintenance throughout the day.
Apply a clear or tinted eye gloss over bare or lightly shadowed lids using your fingertip. Keep the rest of the face relatively simple so the glossy eyes remain the focal point. Be aware that glossy lids can crease and transfer, making them better suited for photos, events, or short outings rather than all-day wear. This look flatters younger, smoother lids best because the glossy finish emphasizes any texture. FYI, using a dedicated eye gloss rather than lip gloss prevents irritation, since lip formulas are not designed for the delicate eye area. For more trend-forward looks, these gorgeous eyeshadow ideas include several editorial-inspired styles.
Try This: Apply a cream shadow base before your eye gloss for longer wear; the cream gives the gloss something to adhere to, reducing creasing and extending the dewy effect by several hours.
Gradient Cut Crease
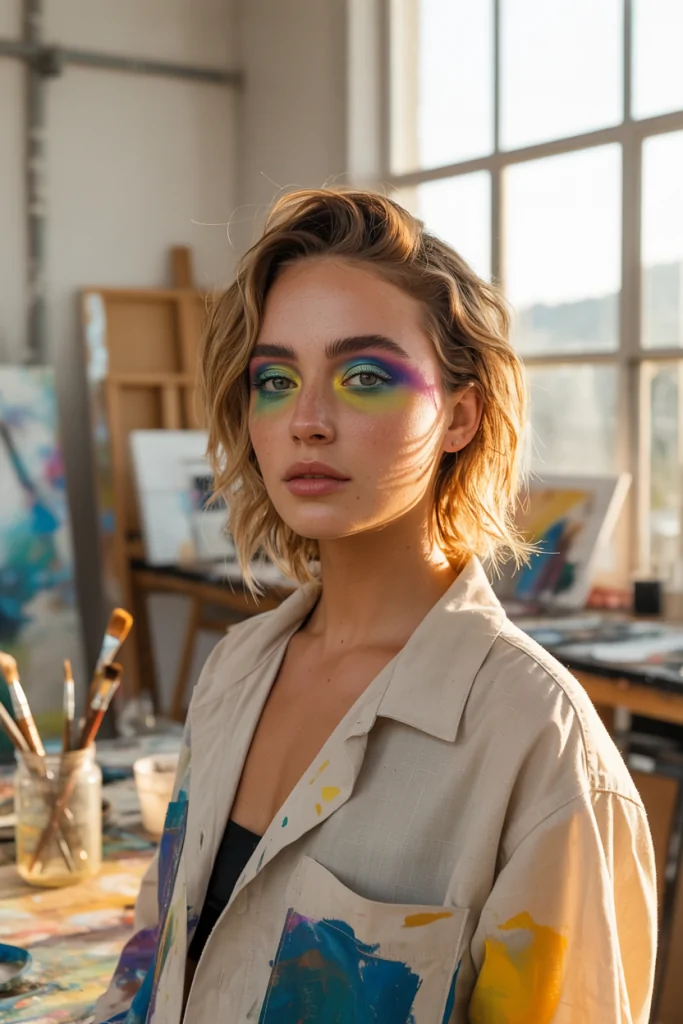
The cut crease is the most advanced look on this list, but the payoff is genuinely worth the practice. This technique creates a sharp, defined line where the crease meets the lid, making the eyes appear larger and more dramatic through bold contrast.
Apply concealer across the lid as a base, then use a darker shade to carve out the crease line with a small, precise brush. Blend a gradient of shades above the cut line, keeping the lid bright and the crease deep. This look requires patience and the right brushes, but the striking result is perfect for special occasions. Cut creases flatter hooded and monolid eyes especially well because the technique creates a defined crease where one may not naturally show. Investing in quality brushes makes this look significantly easier to achieve.
| Eye Look | Difficulty | Best Occasion | Wear Time |
|---|---|---|---|
| Soft Rose Gold | Easy | Daytime, casual | All day |
| Classic Smoky Eye | Medium | Evening, events | All day |
| Graphic Winged Liner | Medium | Any occasion | All day |
| Glossy Eyelids | Easy | Photos, short outings | 3 to 4 hours |
| Gradient Cut Crease | Advanced | Special occasions | All day |
Having the right brushes makes advanced looks far more achievable, and this makeup brush sets guide covers the essential tools worth owning.
How to Choose Eye Makeup Based on Your Eye Shape
Understanding your eye shape transforms your makeup from generic to genuinely flattering. Almond eyes suit almost every technique, while hooded eyes benefit from placing shadow slightly above the natural crease so the color remains visible when the eye is open.
Monolids look stunning with gradient techniques and bold liner drawn with the eye open. Round eyes can be elongated with outer-corner emphasis, and downturned eyes lift beautifully with an upward-angled wing. Deep-set eyes benefit from lighter shades on the lid to bring the eyes forward. Mastering these adjustments takes your looks to the next level, and this primer application guide helps create the smooth base that every eye shape needs.
Did You Know: Eyeshadow primer extends wear time by creating a grippy, oil-free base that prevents natural lid oils from breaking down shadow, which is why makeup artists never skip this step for events lasting more than a few hours.
Building an Eye Makeup Kit for Every Look
You do not need a hundred products to recreate every look in this guide. A well-curated kit of one neutral matte palette, one shimmer palette, black and brown liner, one colored liner, and a couple of quality brushes covers everything from natural to dramatic.
Quality matters more than quantity, especially for brushes and liner. A good blending brush and a precise liner brush dramatically improve results across every technique. Building your kit gradually lets you invest in pieces you actually use rather than accumulating products that expire unused. For those completing their entire makeup collection, this look at makeup application techniques helps round out the full-face essentials.
Common Mistake: Buying trendy single shadows in bold colors before mastering neutrals leaves beginners with an unusable collection; start with versatile neutral palettes and add statement shades only once your blending skills are solid.
Eye makeup honestly becomes so much more fun once you stop seeing it as intimidating and start treating each look as a five-minute experiment. Pick one new technique to practice this week, keep your kit simple, and let your confidence grow with every attempt you make.